December 31, 2014

Matcaps

Just made a few new matcaps for sculpting (nice to change it up, every now and then) and figured i share them.

http://canofcolliders.com/blog/25x8/imgs2/matcaps2/matcap-p2.jpg


Grab them here.

They're all 512x512 PNG images, so they should work in most applications that use matcaps.


For use within blender

As of now (2.72) there is no direct way (that i know) to access blenders built-in matcap menu.
The easiest way to use matcaps, is to setup a new material for it.

  • Make a new material
  • In the material tab, select Shadeless
  • In the texture tab, assign a new texture and load the matcap image.
  • Set mapping coordinates to Normal

Make sure you are in GLSL mode (properties panel > shading > GLSL) and switch the view to textured.

July 15, 2013

Script, Environment Cubemap into Unity Skybox images


Continuing from my earlier post this year about rendering environment cubemaps in blender, for use in Unity, i recently had to do a volumetric cloud setup and render quite a few of these. Splitting them by hand, started to get a bit tedious, so i wrote this little script making it easier.

It will turn the image from blender,


into separated and properly named images like this:


This was put together really quick, so it is a bit rough, it will use the original filename and simply add the _position to it. However, it will not check if the file already exists (if it does, it will overwrite it without asking). I take no responsibility in any damage this might cause, use at your own risk, but maybe it is useful to someone else. Feel free to use, change and/or share this.

Here is the gist of it, it also requires the Python Imaging Library to be installed.


Usage
python split-skymap-into-images.py path/to/cubemap.png
The split images will be saved in the same directory as your cubemap.

April 04, 2013

Rendering a skybox for Unity, using Blender

A skybox, is a wrapper around the world of your game, used as a method of creating a sky (or backgrounds in general).
It essentially is, an inward facing cube around the game world, where each of the 6 faces has a texture assigned, that connects seamlessly to the surrounding sides, appearing to the player as a seamless sky.

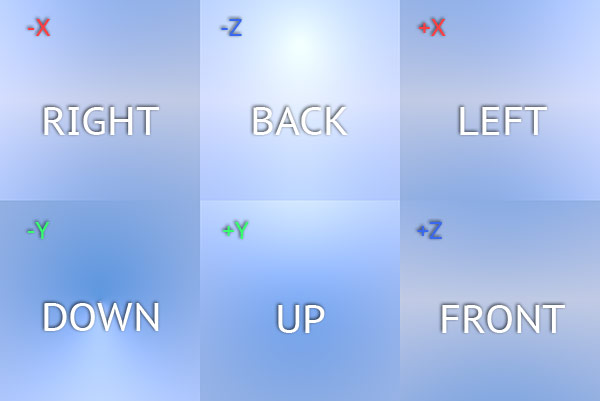
The theory behind it, is pretty simple, imagine taking a photo of all 6 directions around you (up, down, left, right, front and back), if these would get mapped onto all 6 sides of a cube, you would get a surrounding view in every direction, standing inside it.


Making them can get a bit more complicated, all textures have to be able to connect (without visible seams) to their surrounding sides, and since it is a cube, and not a round object, there is distortion around the edges to deal with.

Painting this by hand, especially when there are objects (mountains, clouds) getting close - or even over - a seam, can be really tedious.

An easy way to do it, is to render it in a 3d application, you can either model your environment/place  volumetric clouds, or just paint it and place your painted objects within your scene. The rendering will take care of aligning the views correctly, handling the distortion.

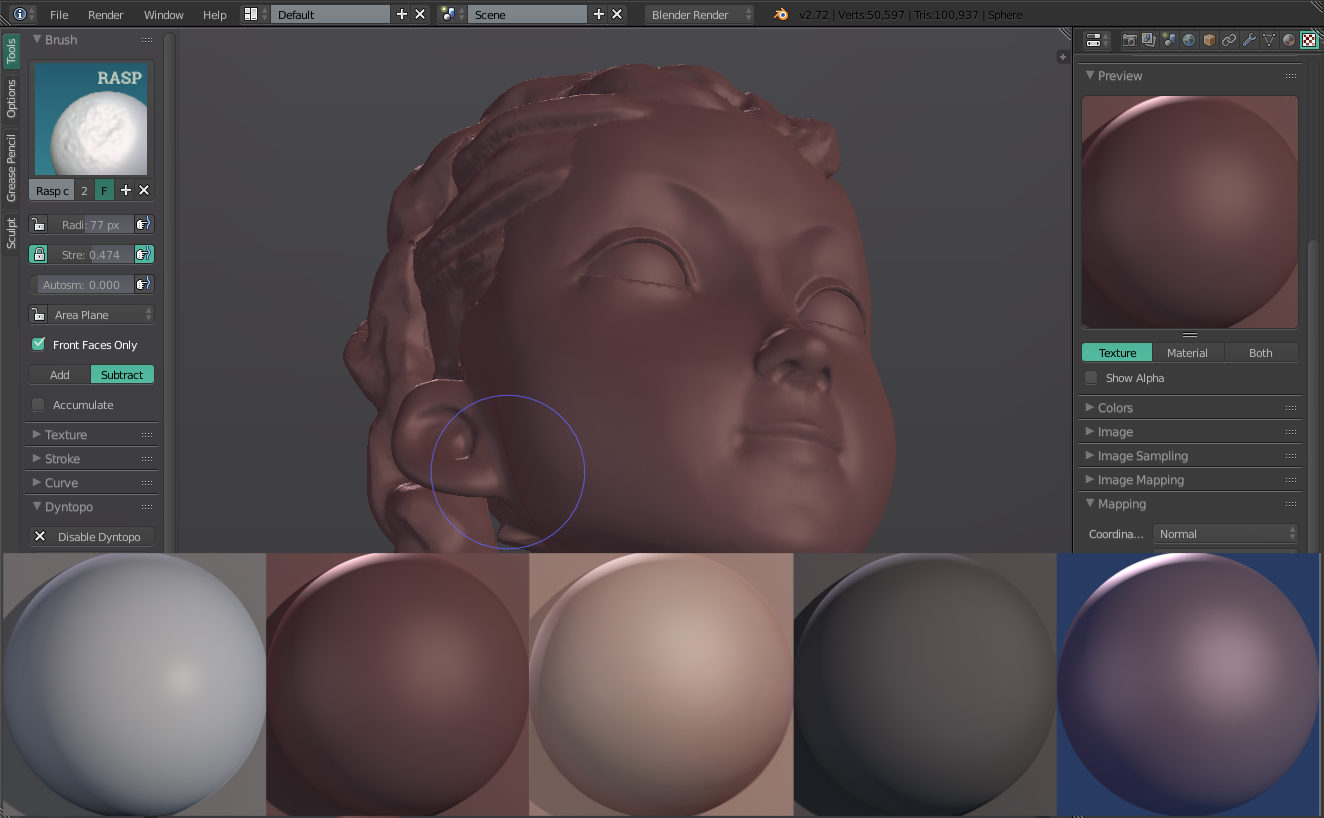
To do this in blender (2.66a when writing this), first create your environment as you like it (for the demo here, i'm using an empty environment, with just a simple sky gradient and sunlight setup).

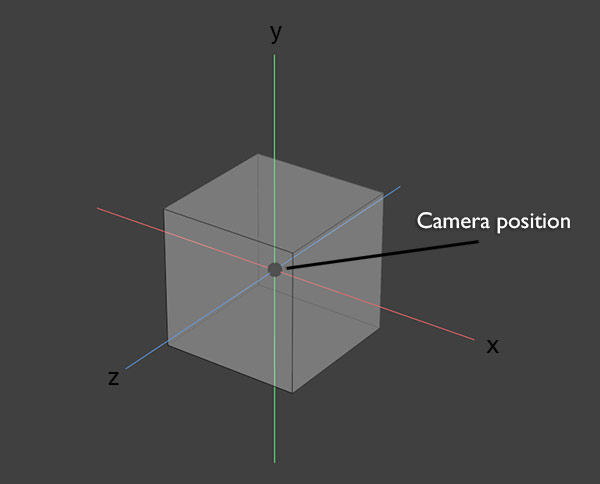
Once you like the look of it, position an object in the center of your world (it does not have to be the actual center, but the point from where you like your skybox to be viewed), a primitive object (cube, sphere etc.) will do. Next step is to add a new Material to the object, and create a new Texture > Type: Environment Map.
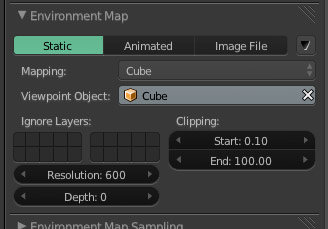
Unfolding the Environment Map section, you first want to select Cube as the Mapping type, and select your center object, as the Viewpoint Object.


The Clipping value, will set the distance objects will be rendered in, if you have objects far away, make sure to raise this high enough.
The Resolution will set the pixel resolution of your map, since this is displayed in a very big scale in-game, if you have something detailed in it, make sure to go high enough to avoid artifacts.

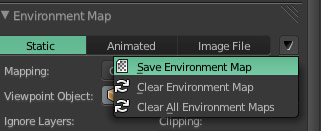
Once all is set up, render your image.
You'll notice that not much changed once the render is done, however there is an environment map generated now, by clicking the little arrow in the corner of the Environment Map, the image can be exported.


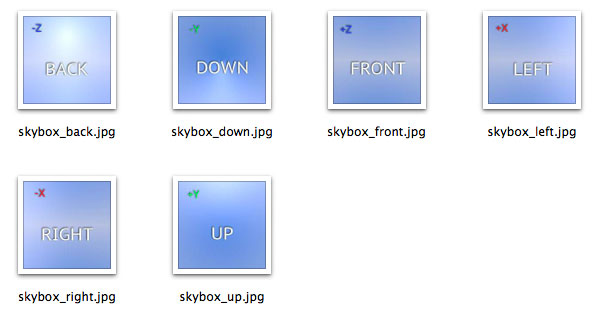
Blender will save this out as a single image, for taking it into Unity, you will need to cut it apart into 6 individual textures.

Blenders map render order (for unity), works like this.

To get it to work in Unity, import the individual textures, and make sure to change their Wrap Mode to Clamp in the Importer.


Using Clamp, instead of Repeat (default) will avoid visible seams..

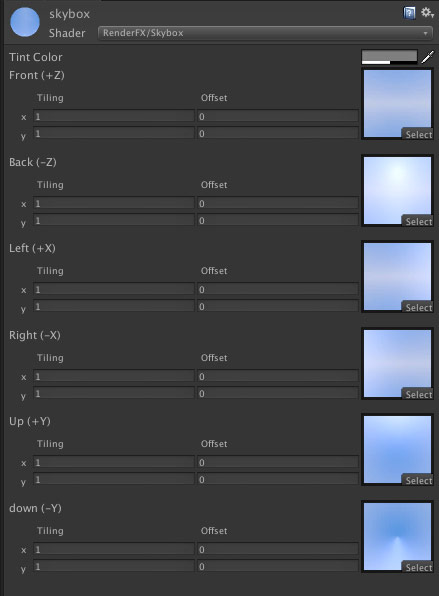
To actually use it, create a new Material > RenderFX/Skybox, and assign the images to the matching directions. You can enable it through Edit > Render Settings > Skybox Material now.


That's all, pretty simple, and can be a real timesaver compared to manually adjusting the images to match by hand.

February 19, 2013

ScreenMirror v0.4a

I've just updated ScreenMirror to a new version, mostly because i wanted to add support for multi-monitor setups. It does now allow to switch between what screen to capture, and can also capture over corners of screens (or several screens at the same time).

Download can be found here.

February 12, 2013

ScreenMirror App

If you draw often, you probably know that your eyes tend to get used to what you look at pretty quick, and when you come back later, you suddenly find -obvious- mistakes in your work, that you did not notice at all while drawing.

A common help with this, is holding a drawing against a mirror - to get a fresh look on it - which usually makes mistakes pop out immediately. I've known people who keep a mirror right above their drawing board, so they have a mirrored view available all the time.

If you're working digital, flipping the image horizontally has the same effect.

A while back, i've had a talk with Nicc about Photoshop, not being able to give you a realtime mirrored preview when drawing. It does allow opening a secondary view of a document, but as soon as you flip one, the other will as well. I first was thinking of writing a Photoshop plugin to make this work, but eventually ended up making a small java application that allows recording an area of the screen and showing a flipped (or distorted) view of it. 


It's not very polished right now, but it should work fine.
Figured i post it, maybe someone else has a use for it, or is just curious.

A quick summary page for it (and downloads for mac/win/linux), can be found here.

I'd consider it an alpha build, so there might be bugs - use at your own risk -